
I am a sucker for cute desserts. "Cute" can have a wide array of meaning, depending on my cravings, but one thing is for certain - if I see a cookie that is frosted beautifully, I can't resist. When I was little, my mom and I would always make Christmas sugar cookies that had strong hint of almond extract in them, much like this recipe. We would cut out the typical holiday shapes, sprinkle the tops with colored sugars and sprinkles, then bake and devour. Simple. Santa was a huge fan.
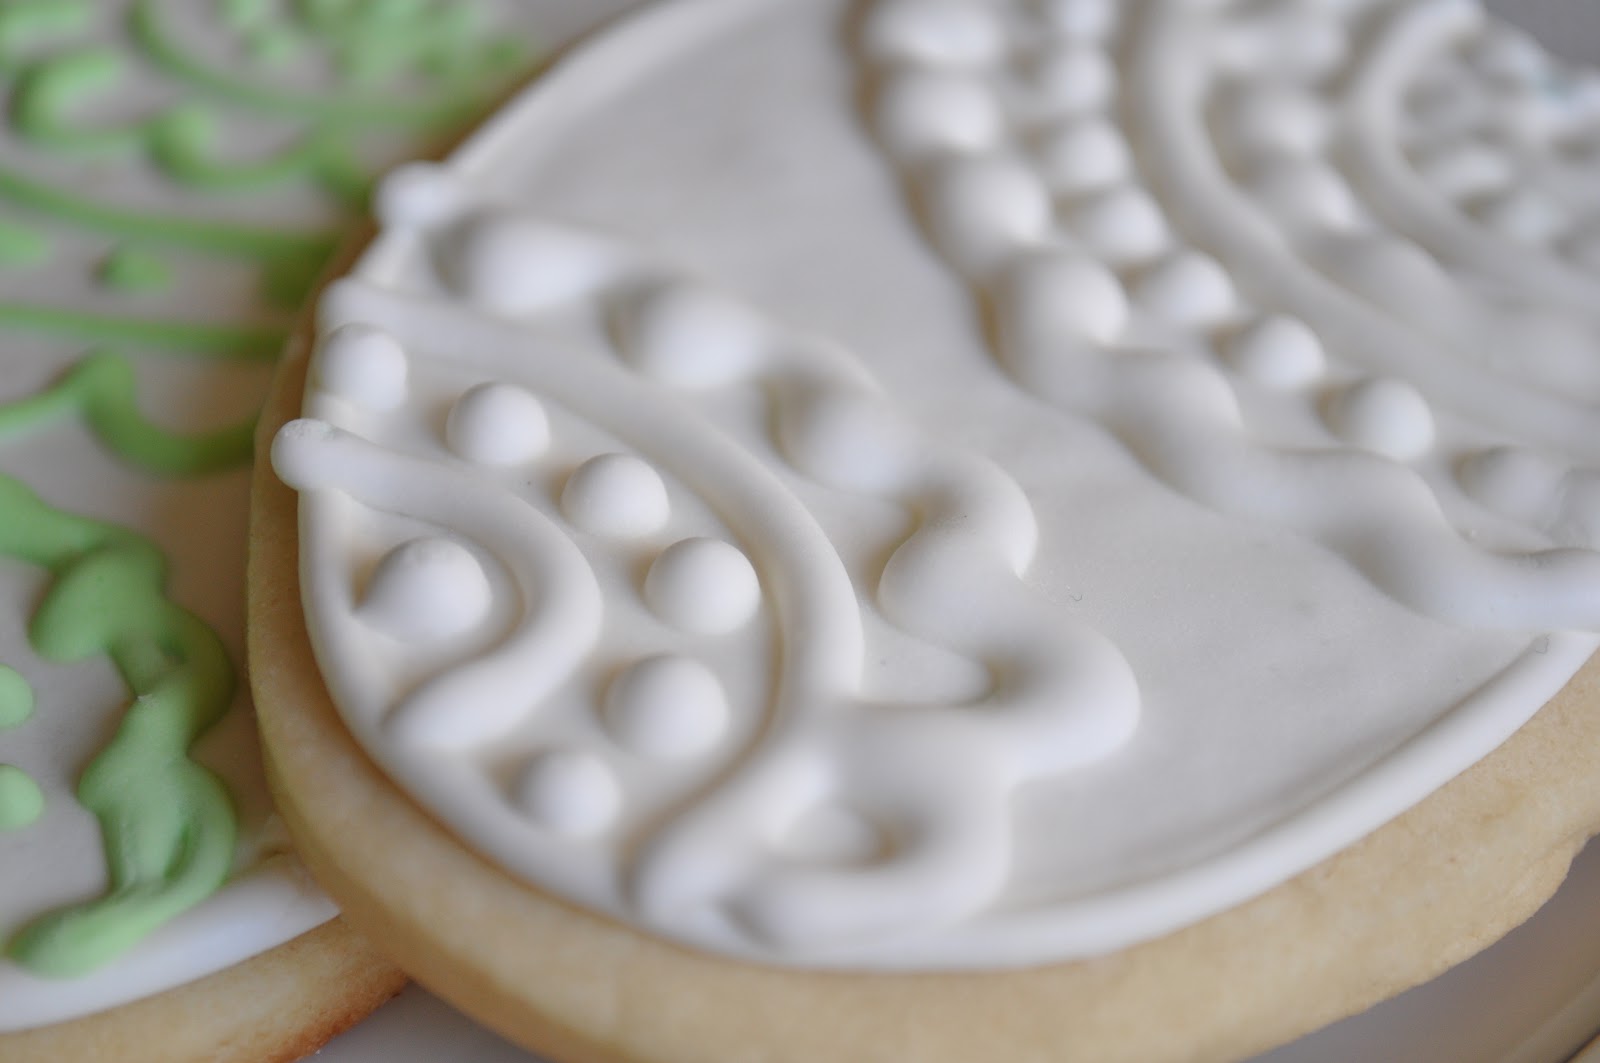
I always admired those perfectly iced cookies that you might see as wedding favors or on display in fancy bakeries (you know the ones I'm talking about... they have brightly colored, perfectly smooth and hardened decorative icing tops, almost too pretty to eat? Those). I never thought I could possibly make those on my own, but then Annie entered my life. She did a step by step tutorial for using royal icing to decorate, so I gathered the ingredients and dove in. Success! My cookies are not (and will not ever be) the most elaborate, perfect cookies ever, but considering that I have ZERO artistic ability I am pretty proud of how I can get some cookies to look! Give these a try and see how creative you can be... don't worry if they look terrible, the cookies are still delicious no matter what! :o)
Sugar Cookies
Makes about 3 dozen (depends on size)
Ingredients
1 cup butter, at room temperature
1 cup powdered sugar
1 egg, beaten
1 1/2 teaspoons almond extract
1 1/2 teaspoons vanilla extract
1 teaspoon kosher salt
2 1/2 cups AP flour, sifted
Royal Icing for decorating, recipe follows
Make the dough: cream together the butter and sugar. Mix in the egg, extracts, and salt. Scrape down the sides of the bowl. Slowly mix in the flour until just incorporated. Form the dough into a disk and wrap tightly in plastic wrap. Chill the dough until it is firm, about 1 hour (at this point you could double wrap the dough and freeze for up to 6 months - put dough in refrigerator at least a day before you want to bake the cookies).
make the cookies: pre-heat the oven to 375 degrees. Lightly flour a smooth work surface. Roll the dough to 1/4" thickness (if dough doesn't roll easily at first, allow to warm up for a few minutes then try again). Cut into desired shapes and transfer to a baking sheet that has been lined with parchment paper. Bake for 8-10 minutes (cookies should not brown at all!). Allow cookies to cool completely on a wire rack before decorating.
Adapted from Annie's Eats
Royal Icing
Makes about 3 cups
Ingredients
3 tbsp. meringue powder (craft stores with a cake decorating section should have this)
4 cups confectioners sugar
6 tbsp. water
food coloring (I swear by gel food colors... they rock!)
Beat all ingredients together using an electric mixer until peaks form, about 8 minutes. Icing should be stiff. Color as desired (split into individual bowls to make more than one color). Use a piping bag with a small tip to outline the cookies, then allow the outline to set (about 1 hour or more). Keep the unused icing in an airtight container. Once the outlines on the cookies are set, mix a tiny amount of water into the remaining icing. You are making "flood icing" that will spread out to cover the cookie but not be too watery and runny (when you drizzle the icing back into the container it should make ribbons that incorporate back into the other icing in about 5-10 seconds). Flood the cookies using the thinned icing - use a toothpick to pop any air bubbles that form. Allow the flood icing to set completely. You can use leftover outlining icing to decorate on top once the flood icing is completely set.
I usually split the icing process up over 2 days or so to allow adequate drying time between steps. Just plan ahead if you want to decorate this way! :o)
Adapted from Wilton

No comments:
Post a Comment