
The pizza was good. Real good. But something was still not quite right... the crust. Don't get me wrong, the store-bought stuff did it's job by holding the toppings and crisping up, but it just wasn't exactly what we were hoping for. We both agreed that we prefer a thinner, chewier crust as opposed to the puffy and doughy version that our store version provided for us. Thus began the new - and most difficult part of our - pizza endeavor. Crust.
Well, as it turns out me and yeast do not get along. Our tumultuous relationship has become evident with my failed attempts at various homemade breads and baked goods, and apparently pizza dough, as well. (Insert discouraged sigh here). Not going down without a fight, I continued searching and discovered The Bread Baker's Apprentice and the slow and cold rise pizza dough method. Say whaaat? No warming water for yeast? No finicky temperatures to deal with? No proofing on the counter? Sign me up!!
This dough is perfect. I have come to realize that everyone likes their pizza slightly different, but for us this is THE crust for two reasons. One: it is foolproof and effortless to make (trust me, throw it in the fridge and leave it alone). Two: it has the perfect consistency, especially when baked on a pizza stone. The only downfall is that it takes a little planning ahead. For example, if you want to make pizza on Friday night, you should make the dough on Monday so it has proper time to come together by dinner at the end of the week (see this nifty fermentation timeline). Also, you need to take the dough out a couple of hours before you bake it, so if you aren't good at planning ahead this might take some serious iPhone reminders to plan for. It's worth it. Trust me.
This dough is perfect. I have come to realize that everyone likes their pizza slightly different, but for us this is THE crust for two reasons. One: it is foolproof and effortless to make (trust me, throw it in the fridge and leave it alone). Two: it has the perfect consistency, especially when baked on a pizza stone. The only downfall is that it takes a little planning ahead. For example, if you want to make pizza on Friday night, you should make the dough on Monday so it has proper time to come together by dinner at the end of the week (see this nifty fermentation timeline). Also, you need to take the dough out a couple of hours before you bake it, so if you aren't good at planning ahead this might take some serious iPhone reminders to plan for. It's worth it. Trust me.
Pizza Dough
Makes 6 balls of 6 oz. dough, or 4 balls of 9 oz. dough
Ingredients
4 1/2 cups unbleached bread or all-purpose flour, chilled
1 3/4 tsp. kosher salt
1 tsp. instant yeast
1/4 cup good olive oil
1 3/4 cups water, ice cold
cornmeal for dusting
1 3/4 tsp. kosher salt
1 tsp. instant yeast
1/4 cup good olive oil
1 3/4 cups water, ice cold
cornmeal for dusting
Directions:
In the bowl of an electric mixer fitted with the paddle attachment, stir together the flour, salt and yeast. Slowly mix in the oil and water on low speed until the flour is absorbed. Switch to the dough hook and mix the dough on medium speed for 5-7 minutes or until a smooth, sticky dough is formed (the dough should clear the sides, but stick to the bottom). Add more water or flour, as necessary, to create a springy, sticky dough (not just a little tacky... like sticky). The temperature of the dough should be around 50-55 degrees F.
Sprinkle some flour on the counter or on a board and dump out the dough. Using floured hands split it into 6 equal portions, and form the dough into 6 smooth dough balls. FYI: the dough could also be split into 4 (9 oz.) portions for a larger pizza. Lightly coat each portion of dough with olive oil (the spray kind in a can makes this easier) and put into individual plastic food storage bags. If you are using the dough within 3-5 days, pop it into the fridge, otherwise you can freeze it for future use (lasts up to 3 months). Just take the frozen dough out of the fridge about 5 days prior to the day you want to use it and continue with the next step.

On the day you want to cook the pizza - 2 hours before meal time: sprinkle the counter lightly with flour, and use a little more spray oil to spritz the top of the flour. Dump the dough ball on top of the oil/flour and gently press into a disk about 1/2 inch thick. Sprinkle with more flour, mist with a little more oil, and cover loosely with a piece of plastic wrap. Walk away for 1.5 hours.
1.5 hours later, preheat your oven and pizza stone to the highest possible temperature that your oven will allow (mine goes up to 500 degrees). Let it pre-heat for at least 30 minutes. If you are using a sheet tray, do not pre-heat the pan.
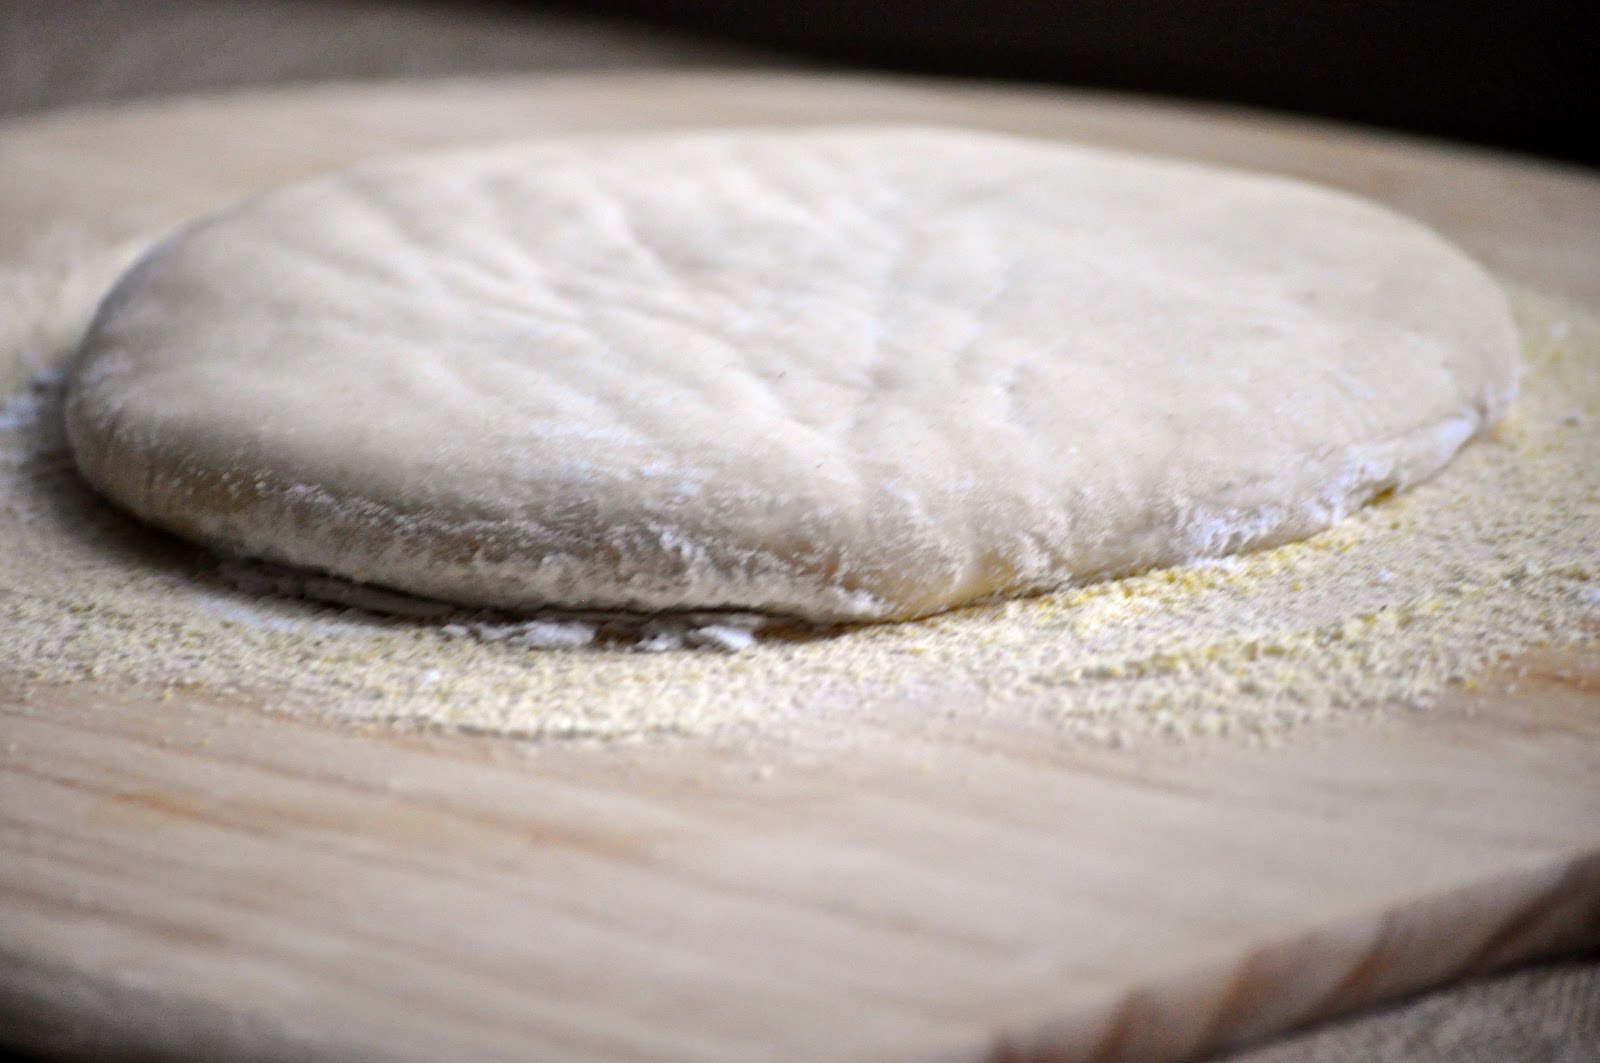
After 2 hours are up: Dust a pizza peel with cornmeal and form one ball of dough into a large circle with floured hands. (If you're brave, try tossing it!). When the dough is about 9-12 inches in diameter, gently shake the pizza peel to make sure the dough hasn't stuck (that is a miserable situation to be in when you try to slide it into the oven, trust me) and add more cornmeal, if needed. Brush the outer 1 inch edge of the dough with olive oil, then top as desired**.


Slide the topped pizza onto your pizza stone and bake for about 6-10 minutes, depending on your oven, rotating as necessary to ensure even cooking. Once the pizza looks ready, remove to a cutting board. Allow it to rest for about 3 minutes (the longest 3 minutes of your life... but otherwise it will be a mess!) then cut and serve. Yummmmm!
** Topping disclaimer: get as creative as you want with sauces, cheeses, meats, veggies, etc. But as a fair warning, less is more! If you have Andy-Syndrome (aka The Kitchen Sink Problem) you will be tempted to pile on tons of toppings. Don't. Resist the urge. Less is more. A light coating of sauce, a light sprinkle of cheese, and 2-3 carefully chosen toppings are all you need. Our favorite pizzas have been ones with cheese plus 2 toppings! Proceed as you see fit, but consider yourself warned :o)
Adapted from The Bread Baker's Apprentice by Peter Reinhart
 |
| Pepperoni Pizza... simple and delicious!! |
Adapted from The Bread Baker's Apprentice by Peter Reinhart
No comments:
Post a Comment