Pages

Monday, July 30, 2012

Stovetop Lobster Mac and Cheese

Yum. I feel like I don't even need to write commentary for this dish because the recipe title should be more than enough to lure you in. Lobster. Macaroni and cheese. Together. Yes. Now in my traditional Italian home, seafood and cheese rarely crossed paths, but this is certainly one time to make an exception!

This is a recipe that we have been trying to perfect for about a year or so. It always comes out great... but not perfect. Fast forward to Father's Day 2012 in Connecticut - Andy and I treated my dad to a meal of grass-fed rib eye steak and sirloin steak tips, tomato salad (his favorite summer salad), and a side of this lobster mac and cheese. I hate to admit it, but I think this side dish stole the show! I had to write it down quickly before I forgot what we did :o)

This would be perfectly delicious without the lobster, but if you can manage to add it, please do! The Mac and cheese base and technique would stay the same regardless of what add-ins you chose to use, so get a little crazy if you want.

Stovetop Lobster Mac and Cheese
Makes 6 typical side servings (or 4 "Andy-sized" side servings)

Ingredients
Meat from 1 lobster (if you cook and pick your own, only cook the lobster for 6 minutes or so, otherwise it will overcook later and get chewy. Ew.)
1 pound small pasta (I highly recommend fresh or refrigerated pasta if you can get it, but dried pasta would be ok in a pinch)
2 tbsp. flour
2 tbsp. butter
2 cups milk or cream
1/2 cup mild or sharp cheddar, grated (don't use the pre-shredded cheese as the powdery coating it has on it will not yield a velvety smooth sauce)
1/2 cup creamy fontina cheese, shredded
8 oz creme fraiche
1 tbsp. dijon mustard
1/2 tsp. garlic powder
pinch of nutmeg
salt and pepper, to taste
1 tsp. olive oil
1/4 cup panko bread crumbs

Bring a large pot of salted water to a boil (if you are cooking your own lobster, you get bonus points for cooking your pasta in the used lobster cooking water! It might sound icky, but we do it every time and it's a win-win). Cook the pasta to al dente, then drain and set aside.

In a medium sized pot over medium heat, melt the butter and whisk in the flour to form a roux. Once a smooth paste has been formed, whisk in the milk (the sauce should coat the back of a spoon, but not be too thick). Continue to cook the milk mixture, stirring constantly, until it begins to thicken and steam, about 5 minutes. Turn off the heat and whisk in all of the cheese, creme fraiche, mustard, garlic powder, and nutmeg. Add in the lobster meat and pasta and stir to combine. (It might look like too much sauce at this point, but that's a good thing as the pasta will soak up some of the sauce as it sits.) Season to taste with salt and pepper. Set aside.

Meanwhile, in a small saute pan, heat the oil and toast the panko breadcrumbs until they are golden brown. Sprinkle over the mac and cheese and serve.

Enjoy!


Wednesday, June 27, 2012

Blueberry Muffins

I'm not usually a breakfast person, but since this little baby has been incubating in me, I am suddenly starving by the time morning rolls around. Like, my stomach grumbles loudly before I even roll out of bed. This is not normal for me. Towards the end of school I resorted to muffins and granola bars, so now that I am on vacation I decided it would be a good idea to make some muffins to have around for my morning starvation. My favorite type of muffins are definitely blueberry, especially when they have a little lemon zing to them and a sugary, crunchy top. Lucky for me, blueberries are in season and looking great, so I set off on my muffin making spree! 

This particular version of the recipe came out great. I made mine a little extra large because I like when the top puffs over and gets a little crunchy (the good type of muffin top, ladies!). These also freeze well - I defrost mine in the microwave on high for about 30 seconds so they get a little warm.

Blueberry Muffins
Makes 10 larger or 12 regular sized muffins

Ingredients
Crumb Topping:
1/3 cup packed brown sugar
1 1/2 tsp ground cinnamon
1/4 cup flour
1/4 cup slightly softened butter, cubed
Muffins:
1 1/2 cups flour
3/4 cups sugar
1/2 tsp kosher salt
2 tsp baking powder
1 egg
1/3 cup vegetable oil
1/3 cup plus 2 tbsp. milk
1 tsp vanilla extract
1 tbsp freshly grated lemon zest
1 cup fresh blueberries, rinsed and dried (feel free to use more than 1 cup. Frozen does not come out as well)

Preheat the oven to 400 degrees F. Line 12 muffin cups with paper liners. If you have a muffin pan prone to sticking, I suggest also spraying cooking spray around each cup in case they cook over.

Make the crumb topping: in a small bowl, mix together all crumb topping ingredients using a fork. Set aside.

Make the muffins: in a medium bowl, stir together the flour, sugar, salt, and baking powder until combined. Add the egg, oil, milk, vanilla, and lemon and stir until just combined. Gently fold in the blueberries.

Evenly scoop the batter into the muffin pans (fill 10 cups 7/8 full, or 12 cups about 3/4 full). Spoon the crumb topping evenly over each muffin before baking.

Bake at 400F until a toothpick inserted in the center of a muffin comes out clean (for larger muffins about 22-25 minutes, for regular sized muffins about 18-22 minutes). Allow to cool slightly, then remove to a cooling rack to cool completely. Enjoy!
Check out those blueberries!!


Tuesday, June 26, 2012

Pizza Dough.... finally!

A couple of years ago, Andy and I ventured into the world of homemade pizza. At the time, that meant a ball of store-bought dough and a greased baking sheet...easy peasy. We loved experimenting with toppings and ended up making some pretty great creations! After researching pizza a little bit more, we adapted and updated our technique. We swapped out the baking sheet for a pizza stone, we played around with the cooking time and temp, tried versions with cornmeal vs. flour vs. oil as a base, and we experimented with types and quantities of toppings. 

The pizza was good. Real good. But something was still not quite right... the crust. Don't get me wrong, the store-bought stuff did it's job by holding the toppings and crisping up, but it just wasn't exactly what we were hoping for. We both agreed that we prefer a thinner, chewier crust as opposed to the puffy and doughy version that our store version provided for us. Thus began the new - and most difficult part of our - pizza endeavor. Crust. 

Well, as it turns out me and yeast do not get along. Our tumultuous relationship has become evident with my failed attempts at various homemade breads and baked goods, and apparently pizza dough, as well. (Insert discouraged sigh here). Not going down without a fight, I continued searching and discovered The Bread Baker's Apprentice and the slow and cold rise pizza dough method. Say whaaat? No warming water for yeast? No finicky temperatures to deal with? No proofing on the counter? Sign me up!!

This dough is perfect. I have come to realize that everyone likes their pizza slightly different, but for us this is THE crust for two reasons. One: it is foolproof and effortless to make (trust me, throw it in the fridge and leave it alone). Two: it has the perfect consistency, especially when baked on a pizza stone. The only downfall is that it takes a little planning ahead. For example, if you want to make pizza on Friday night, you should make the dough on Monday so it has proper time to come together by dinner at the end of the week (see this nifty fermentation timeline). Also, you need to take the dough out a couple of hours before you bake it, so if you aren't good at planning ahead this might take some serious iPhone reminders to plan for. It's worth it. Trust me.

Pizza Dough
Makes 6 balls of 6 oz. dough, or 4 balls of 9 oz. dough 

Ingredients
4 1/2 cups unbleached bread or all-purpose flour, chilled 
1 3/4 tsp. kosher salt
1 tsp. instant yeast 
1/4 cup good olive oil 
1 3/4 cups water, ice cold 
cornmeal for dusting

Directions:
In the bowl of an electric mixer fitted with the paddle attachment, stir together the flour, salt and yeast. Slowly mix in the oil and water on low speed until the flour is absorbed. Switch to the dough hook and mix the dough on medium speed for 5-7 minutes or until a smooth, sticky dough is formed (the dough should clear the sides, but stick to the bottom). Add more water or flour, as necessary, to create a springy, sticky dough (not just a little tacky... like sticky). The temperature of the dough should be around 50-55 degrees F.

Sprinkle some flour on the counter or on a board and dump out the dough. Using floured hands split it into 6 equal portions, and form the dough into 6 smooth dough balls. FYI: the dough could also be split into 4 (9 oz.) portions for a larger pizza. Lightly coat each portion of dough with olive oil (the spray kind in a can makes this easier) and put into individual plastic food storage bags. If you are using the dough within 3-5 days, pop it into the fridge, otherwise you can freeze it for future use (lasts up to 3 months). Just take the frozen dough out of the fridge about 5 days prior to the day you want to use it and continue with the next step.

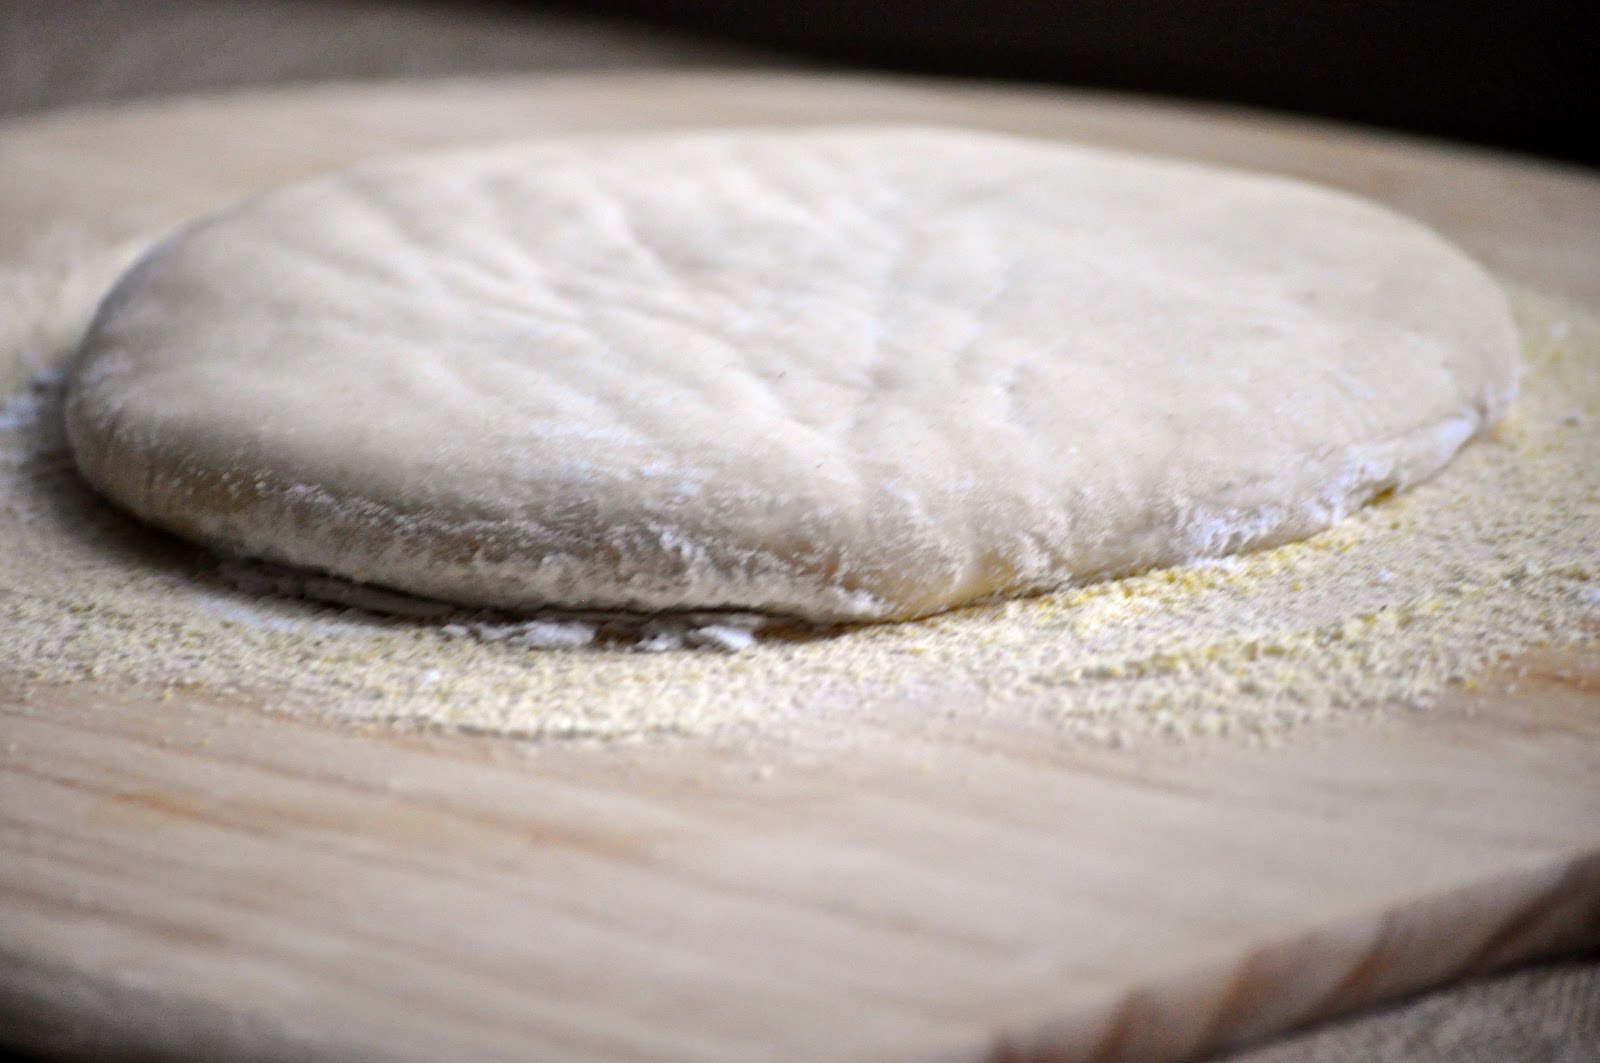
On the day you want to cook the pizza - 2 hours before meal time: sprinkle the counter lightly with flour, and use a little more spray oil to spritz the top of the flour. Dump the dough ball on top of the oil/flour and gently press into a disk about 1/2 inch thick. Sprinkle with more flour, mist with a little more oil, and cover loosely with a piece of plastic wrap. Walk away for 1.5 hours.

1.5 hours later, preheat your oven and pizza stone to the highest possible temperature that your oven will allow (mine goes up to 500 degrees). Let it pre-heat for at least 30 minutes. If you are using a sheet tray, do not pre-heat the pan.

After 2 hours are up: Dust a pizza peel with cornmeal and form one ball of dough into a large circle with floured hands. (If you're brave, try tossing it!). When the dough is about 9-12 inches in diameter, gently shake the pizza peel to make sure the dough hasn't stuck (that is a miserable situation to be in when you try to slide it into the oven, trust me) and add more cornmeal, if needed. Brush the outer 1 inch edge of the dough with olive oil, then top as desired**. 


Slide the topped pizza onto your pizza stone and bake for about 6-10 minutes, depending on your oven, rotating as necessary to ensure even cooking. Once the pizza looks ready, remove to a cutting board. Allow it to rest for about 3 minutes (the longest 3 minutes of your life... but otherwise it will be a mess!) then cut and serve. Yummmmm!

** Topping disclaimer: get as creative as you want with sauces, cheeses, meats, veggies, etc. But as a fair warning, less is more! If you have Andy-Syndrome (aka The Kitchen Sink Problem) you will be tempted to pile on tons of toppings. Don't. Resist the urge. Less is more. A light coating of sauce, a light sprinkle of cheese, and 2-3 carefully chosen toppings are all you need. Our favorite pizzas have been ones with cheese plus 2 toppings! Proceed as you see fit, but consider yourself warned :o)
Pepperoni Pizza... simple and delicious!!

Adapted from The Bread Baker's Apprentice by Peter Reinhart


Thursday, June 21, 2012

Sugar Cookies with Royal Icing

I am a sucker for cute desserts. "Cute" can have a wide array of meaning, depending on my cravings, but one thing is for certain - if I see a cookie that is frosted beautifully, I can't resist. When I was little, my mom and I would always make Christmas sugar cookies that had strong hint of almond extract in them, much like this recipe. We would cut out the typical holiday shapes, sprinkle the tops with colored sugars and sprinkles, then bake and devour. Simple. Santa was a huge fan. 

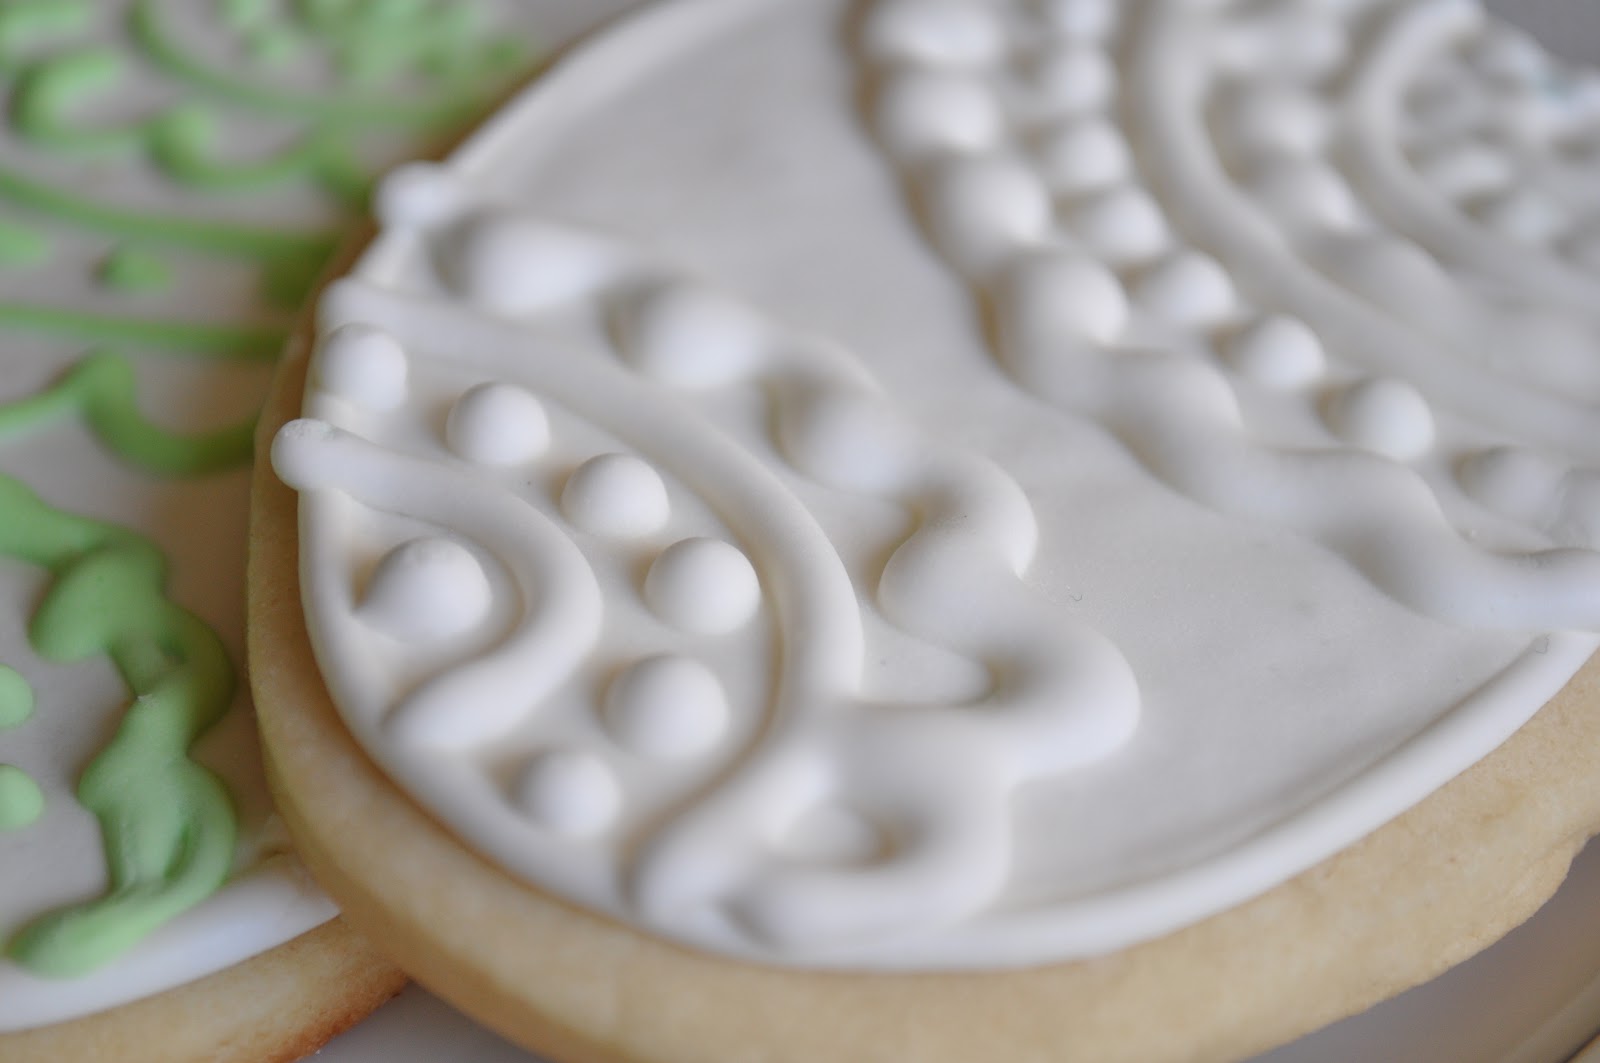
I always admired those perfectly iced cookies that you might see as wedding favors or on display in fancy bakeries (you know the ones I'm talking about... they have brightly colored, perfectly smooth and hardened decorative icing tops, almost too pretty to eat? Those). I never thought I could possibly make those on my own, but then Annie entered my life. She did a step by step tutorial for using royal icing to decorate, so I gathered the ingredients and dove in. Success! My cookies are not (and will not ever be) the most elaborate, perfect cookies ever, but considering that I have ZERO artistic ability I am pretty proud of how I can get some cookies to look! Give these a try and see how creative you can be... don't worry if they look terrible, the cookies are still delicious no matter what! :o)


Sugar Cookies
Makes about 3 dozen (depends on size)


Ingredients
1 cup butter, at room temperature
1 cup powdered sugar
1 egg, beaten
1 1/2 teaspoons almond extract
1 1/2 teaspoons vanilla extract
1 teaspoon kosher salt
2 1/2 cups AP flour, sifted
Royal Icing for decorating, recipe follows


Make the dough: cream together the butter and sugar. Mix in the egg, extracts, and salt. Scrape down the sides of the bowl. Slowly mix in the flour until just incorporated. Form the dough into a disk and wrap tightly in plastic wrap. Chill the dough until it is firm, about 1 hour (at this point you could double wrap the dough and freeze for up to 6 months - put dough in refrigerator at least a day before you want to bake the cookies).


make the cookies: pre-heat the oven to 375 degrees. Lightly flour a smooth work surface. Roll the dough to 1/4" thickness (if dough doesn't roll easily at first, allow to warm up for a few minutes then try again). Cut into desired shapes and transfer to a baking sheet that has been lined with parchment paper. Bake for 8-10 minutes (cookies should not brown at all!). Allow cookies to cool completely on a wire rack before decorating.


Adapted from Annie's Eats


Royal Icing
Makes about 3 cups


Ingredients
3 tbsp. meringue powder (craft stores with a cake decorating section should have this)
4 cups confectioners sugar
6 tbsp. water
food coloring (I swear by gel food colors... they rock!)


Beat all ingredients together using an electric mixer until peaks form, about 8 minutes. Icing should be stiff. Color as desired (split into individual bowls to make more than one color). Use a piping bag with a small tip to outline the cookies, then allow the outline to set (about 1 hour or more). Keep the unused icing in an airtight container. Once the outlines on the cookies are set, mix a tiny amount of water into the remaining icing. You are making "flood icing" that will spread out to cover the cookie but not be too watery and runny (when you drizzle the icing back into the container it should make ribbons that incorporate back into the other icing in about 5-10 seconds). Flood the cookies using the thinned icing - use a toothpick to pop any air bubbles that form. Allow the flood icing to set completely. You can use leftover outlining icing to decorate on top once the flood icing is completely set.


I usually split the icing process up over 2 days or so to allow adequate drying time between steps. Just plan ahead if you want to decorate this way! :o) 


Adapted from Wilton

It's been a while...

So my last post was in March.... sorry! We've had a busy couple of months. First, iPhoto crashed on my computer and I didn't want to post recipes without the pictures to accompany them. Oh, and we also got some great life-changing news.... I'm pregnant! Andy and I are expecting our first child in November and we are SO excited!! Needless to say, once we got the great news I got a little distracted and starting thinking "baby" more than "blog". 


On top of all that, pregnancy has brought on a strange sensation.... I have had absolutely NO desire to cook!!! I've never felt that in my adult life, as cooking and food have always been my go-to stress relief at the end of a long day. The past couple of months have been filled with makeshift dinners, take-out, frozen meals, and other general non-cookery in our kitchen. Oops. Now that I am just about halfway along in pregnancy, the urge to cook is slowly coming back, so I am hoping to have more blog posts in the near future. 


Until then, sorry for disappearing since March. More recipes coming soon :o)

Saturday, March 24, 2012

Crab Imperial

I'm pretty sure that fresh lump crab meat is one of my favorite things in the world. If you haven't noticed a good percentage of the recipes on here revolve around this awesome ingredient, but I am always on the hunt for a new one to throw into the rotation. This crab imperial was absolutely fantastic! I had heard of crab imperial before, but I wasn't really sure what it was - it wasn't until my issue of Food & Wine came in the mail that I actually figured out what it is. It is basically a crab casserole which is usually served in scallop shells, topped with Parmesan and baked (basically like a stuffed clam, but with crab). The base of the casserole is typically mayonnaise, but this version from F&W caught my eye because the base is basically a hollandaise sauce thickened with a bechamel sauce - in other words... yummy! I also liked the addition of red bell pepper in this to add a little crunch and color, so I kept that in my version as well. Ok, this probably isn't the heathiest dish ever, but holy cow is it delicious! If you like crab, give this a try as a main dish or as an appetizer at your next gathering. Enjoy! :o)

Crab Imperial
Serves 2 (main dish) or 4 (appetizer)

Ingredients
4 tbsp. butter
1 tbsp. flour
3/4 cup milk
1 tsp. olive oil
1/2 small onion, finely diced
1/4 red bell pepper, diced
1 egg yolk
1 tbsp. fresh lemon juice
zest of 1/2 of a lemon, finely grated
dash of hot sauce
salt and pepper
1/2 lb. lump crab meat, picked over for shells
toasted baguette slices, for serving

Directions
Make the bechamel: In a saucepan set over medium low heat, melt 1 tbsp. of the butter. Whisk in the flour until a paste forms. Add the milk and continue whisking until the bechamel thickens, about 5 minutes. Season with salt, pepper, and hot sauce. Set aside.

Cook the vegetables: Heat the oil in a small saute pan over medium low heat. Add the onion and cook until translucent. Add the bell peppers and season with salt and pepper. Continue cooking until the peppers are softened, about 5 minutes. Set aside.

Make the hollandaise: Melt 3 tbsp. butter and set aside. Bring 1 inch of water to a simmer in a small sauce pan. In a medium glass or stainless steel bowl, whisk together the egg yolk and lemon juice. Place the bowl over the simmering water (make sure the bowl doesn't touch the water) and whisk constantly until the egg mixture thickens, about 3 minutes. Slowly drizzle in the melted butter and season with salt and pepper. Remove from the heat and whisk in the lemon zest and the bechamel sauce until smooth.

Put it all together: Adjust your oven racks to be 6" and 10" away from the broiler, then preheat the broiler. Lightly oil an 8" round or square baking dish. In a large bowl, gently fold together the crab meat, onions and peppers, and bechamel/hollandaise mixture until well combined. Pour into the prepared baking dish and broil at 6" away from the broiler for about 3-6 minutes or until it is browned and bubbly. Move the dish to the rack that is 10" away from the broiler and continue to broil for about 4 minutes or until it is completely warmed through. Serve hot with toasted bread. Yum! :o)


Adapted from Food & Wine

Tuesday, March 20, 2012

Chicken in Mustard Cream Sauce

Mustard is one of those ingredients that I underestimate. As far as condiments go, I'm likely to reach for ketchup for my burger, or mayonnaise for my sandwiches, so mustard kind of takes a back seat. However, this meal is really all about the mustard. It's not overpowering, but it adds just enough tangy mustardy flavor to make boring-old-chicken into something much tastier. This will certainly be added to our rotation of chicken dishes as it was a huge hit! Enjoy :o)

Chicken in Mustard Cream Sauce
Serves 4

Ingredients
2 chicken breasts, boneless/skinless, cut in half into two thin cutlets
1 tbsp. butter
1 tbsp. vegetable oil
salt and pepper
1/4 cup minced onion or shallot
1/2 cup dry white wine
1/2 cup low-sodium chicken stock
1/4 cup heavy cream
2 tbsp. whole grain mustard
1 tbsp. smooth dijon mustard

Directions
Heat the butter and oil in a large sautee pan over medium high heat. Season the chicken on both sides with salt and pepper. Add the chicken to the sautee pan and cook until they are golden brown, about 2 minutes (resist the urge to move them as they will stick).  Turn the chicken over and cook on the second side for about 3 minutes longer, or until the juices run clear when poked with a knife. Remove the chicken to a plate and cover to keep warm.

In the same pan, make the mustard sauce. Keep the heat on medium high and add the onion. Cook for about 2 minutes until slightly softened, then add the wine. Scrape up the bits on the bottom of the pan, and raise the heat to high to bring the wine to a simmer. Continue cooking for 2-3 minutes or until there is about 2 tbsp. of liquid left in the pan. Add the chicken stock and simmer until reduced by half. Stir in the heavy cream, 1/2 tsp of salt, 1/4 tsp. of pepper,  and bring to a simmer. Let the sauce simmer until the sauce coats the back of a wooden spoon, about 2 minutes. Shut off the heat and stir in the mustards. Return the chicken to the pan and allow them to heat through before serving. Be generous with the sauce when serving! Yum! :o)


Adapted from The Williams Sonoma Cookbook and Smitten Kitchen